
Switching from ChatGPT to Claude: what actually needs to move across
Most guides on switching AI tools focus on the decision. This one starts after it. If you’ve already decided Claude is worth trying seriously, the practical question is: how do you carry your existing setup across without losing what you’ve built?
The good news is that Claude has a direct import tool for pulling in context and memory from ChatGPT. The more important work is migrating your custom GPTs and projects — deliberately, not just by copying instructions over wholesale.
This article walks through the process step by step.
First: export your ChatGPT data
Before anything else, export everything ChatGPT holds about you. Go to Settings → Data Controls → Export All Data. ChatGPT will email you a download link — it can take a while to arrive.
Conversation history isn’t really the valuable thing here. This export is a safety net, not the migration itself. What you actually want to move across is your memory, custom instructions, custom GPTs, and projects — and those require a different approach.
Importing your context into Claude
Claude has a built-in import tool that makes this straightforward. In Claude, go to account settings → Capabilities → Import memory from other AI providers.
Claude will generate a prompt. Paste that into ChatGPT and run it. ChatGPT will produce a structured summary of how you work — your preferences, communication style, and working context. Copy that response, head back to Claude, and paste it into the import box.
Claude processes this and builds out your memory from it. It takes a few minutes, but once it’s done, Claude already has a solid understanding of who you are and how you like to work with AI. This gets you moving quickly — but it’s not the whole job.
Migrating your custom GPTs and projects
This is where the real work is, and where being deliberate pays off.
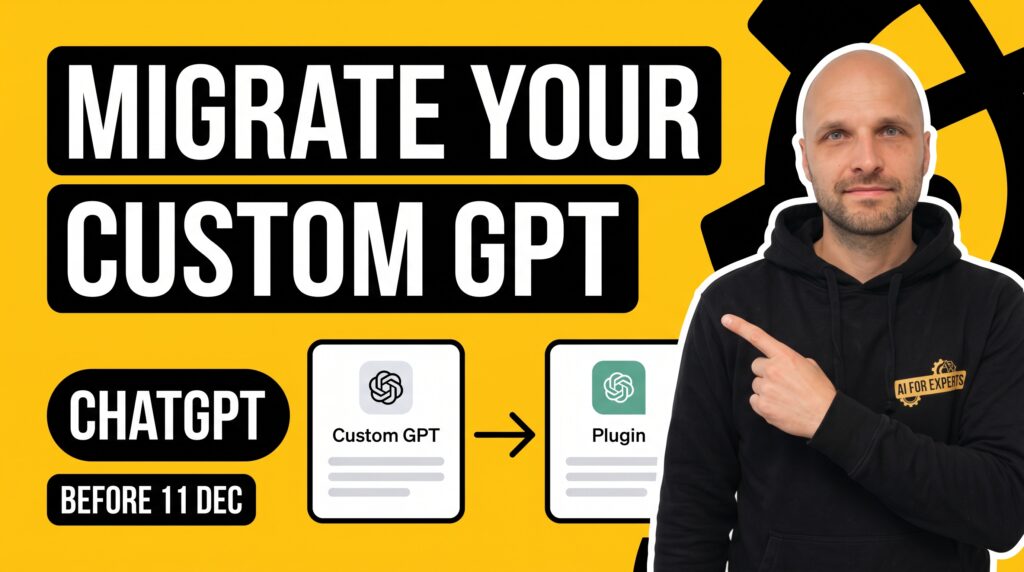
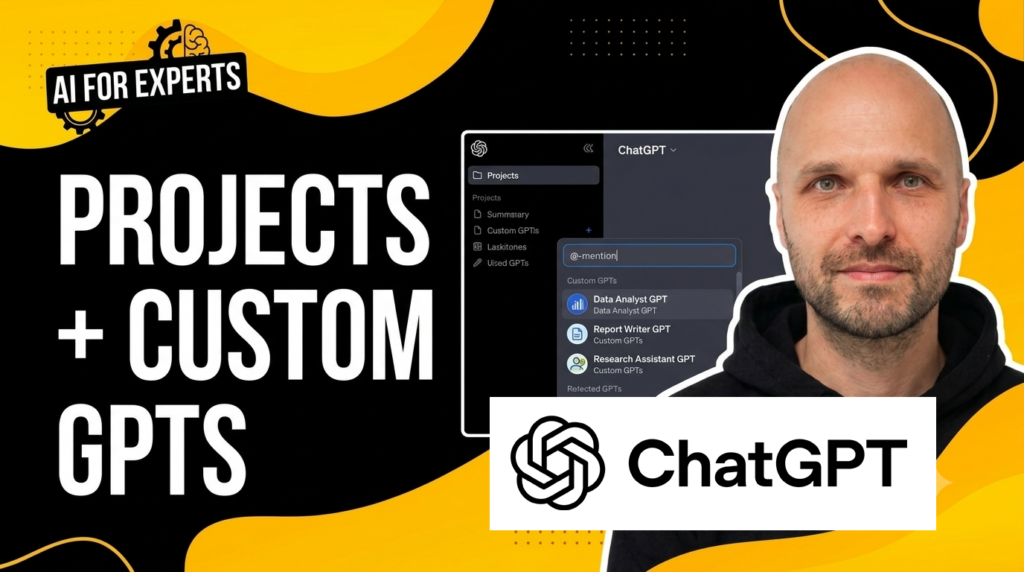
Claude doesn’t have a separate Custom GPTs feature. Instead, it has Projects — which are dual-purpose. You can use them for ongoing client work or as purpose-built tools, in the same way you’d use a custom GPT.
For each custom GPT you want to migrate:
- Open the custom GPT in ChatGPT and go to the Configure tab.
- In Claude, go to Projects → Create New Project and give it the same name.
- Copy the instructions from your custom GPT and paste them into the Claude project.
- Before saving, review the instructions carefully. If you’ve been compensating for ChatGPT’s quirks or limitations, now is the time to tighten them. Don’t just copy — adapt.
- Download any uploaded files from the custom GPT and re-upload them to the Claude project.
Once the project is set up, test it with a real task. If it’s not behaving the way you want, open the project and adjust the instructions. Repeat this for each custom GPT or project you want to carry across.
It’s also worth pausing before you migrate everything. Not every custom GPT you’ve built is necessarily still useful — the migration is a natural point to be selective rather than just recreating the whole lot.
Choosing how to run going forward
Once everything is migrated, you have a decision to make. Some people fully switch and cancel their ChatGPT subscription. Others keep both running and use each where it performs best for different types of work.
Neither approach is wrong. The goal isn’t to pick a platform — it’s to have the right setup for the work you actually do. If one tool consistently does a particular job better, use it for that.
If you haven’t yet watched the video on why this switch might be worth making, that’s linked in the description below. And if you want to go deeper on Claude Projects specifically — how to structure them properly for client work — that’s a full topic in its own right and it’s coming soon on the channel.